

A peel and stick backsplash is the fastest way to transform a tired rental kitchen without risking your security deposit. But it can also turn into a sticky mess if you pick the wrong product or install it on the wrong surface. This guide walks you through exactly where these tiles shine, where they fail, and how to make sure yours stays put until you are ready to take it down.
Key Takeaways
- Peel and stick backsplash costs $4 to $8 per square foot DIY and installs in 2 to 4 hours, while traditional tile runs $15 to $25 per square foot with days of labor and grout curing.
- Bathroom installations face a 20 to 30 percent failure rate within two years due to steam and moisture, so limit bathroom use to low splash zones and seal all edges carefully.
- Textured walls are the number one reason for adhesion failure. If your rental has knockdown or orange peel walls, you must either skip peel and stick entirely or prep the surface with a compatible primer.
- The Real Cost of Peel and Stick Backsplash (vs. Traditional Tile for Renters)
- Why 1 in 4 Peel and Stick Bathroom Backsplashes Fail (and How to Prevent It)
- The #1 Enemy of Peel and Stick Tiles: Textured Walls
- Renter Friendly Removal: What You Need to Know Before You Tear It Down
- How to Pick the Best Peel and Stick Backsplash for Your Rental (Buying Guide)
- Conclusion
- Frequently Asked Questions
The Real Cost of Peel and Stick Backsplash (vs. Traditional Tile for Renters)
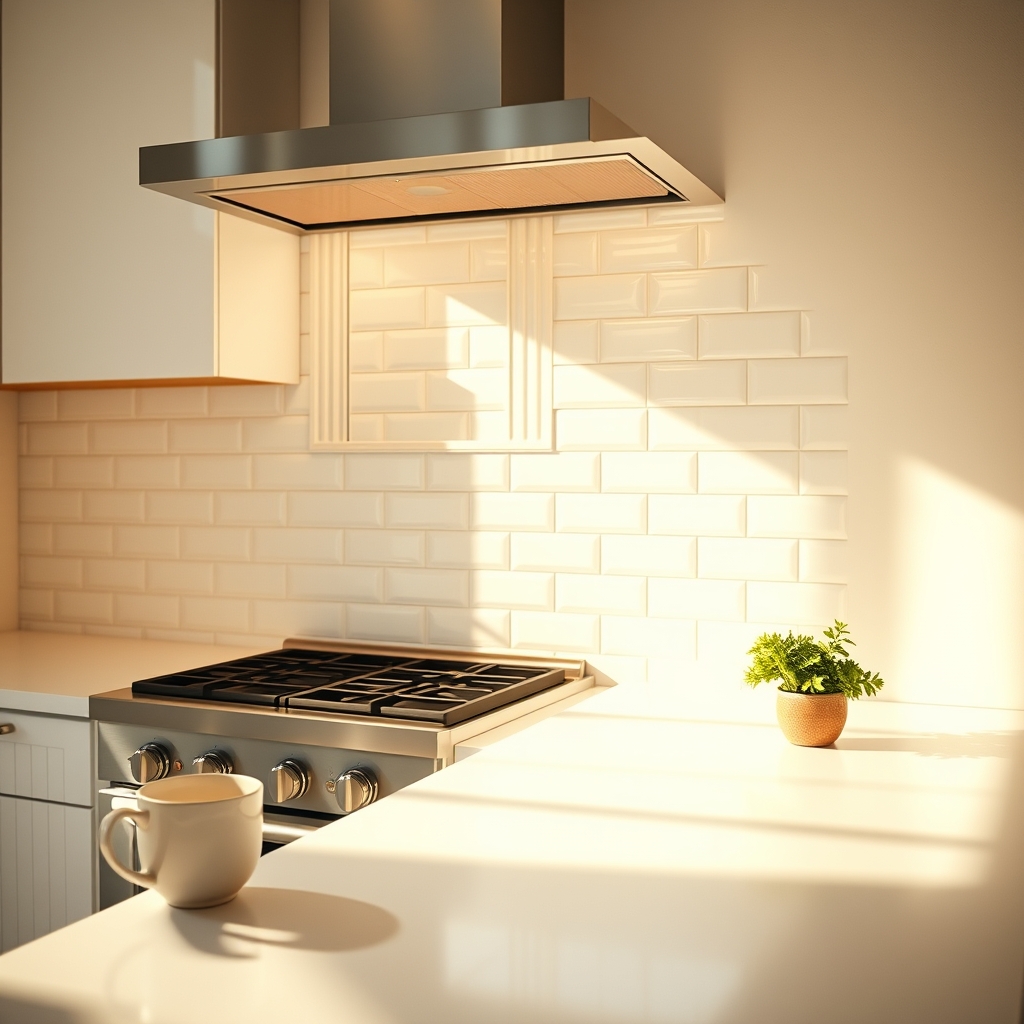
Renters save dramatically both in money and time by choosing a peel and stick backsplash over traditional ceramic tile. The numbers tell a clear story. In 2026, peel and stick backsplashes cost between $4 and $8 per square foot fully installed as a DIY project and can be applied in 2 to 4 hours with no grout drying time and minimal wall damage according to industry cost data. Traditional ceramic or porcelain subway tile typically runs $15 to $25 per square foot installed by a professional, requires 1 to 2 days of labor plus 24 to 48 hours of grout cure, involves more skill and tools, and can damage paint or drywall when removed.
For a standard 30 square foot kitchen backsplash area, that means a total DIY cost of roughly $120 to $240 for peel and stick versus $450 to $750 for pro installed ceramic tile. And you avoid the mess. No wet saw, no grout haze, no dust coating every surface in your apartment.
The time savings matter just as much as the money. Most renters can complete an entire kitchen backsplash in a single afternoon. That includes cutting the tiles with scissors or a utility knife, peeling the backing, and pressing them into place. When you are doing a micro renovation on a tight timeline, that speed is invaluable. Traditional tile demands at least a weekend of labor plus drying time before you can even use the space normally.
Why 1 in 4 Peel and Stick Bathroom Backsplashes Fail (and How to Prevent It)
Bathrooms are the riskiest environment for peel and stick tiles. In 2026, peel and stick backsplashes in high moisture bathrooms show a failure rate of roughly 20 to 30 percent within the first two years. Most problems arise from adhesive loss, edge curling, and delamination when exposed to steam or constant water splashes.
This does not mean you must avoid bathrooms entirely. It means you need to be strategic. The steam from a hot shower penetrates the tiny gaps between tiles and weakens the adhesive over time. Direct water contact near the sink or vanity accelerates this process. Once one edge lifts, moisture travels behind adjacent tiles and the failure spreads.
If you rent an apartment with a ventless washer dryer in the bathroom, the added humidity from laundry cycles makes conditions even tougher on adhesive products.
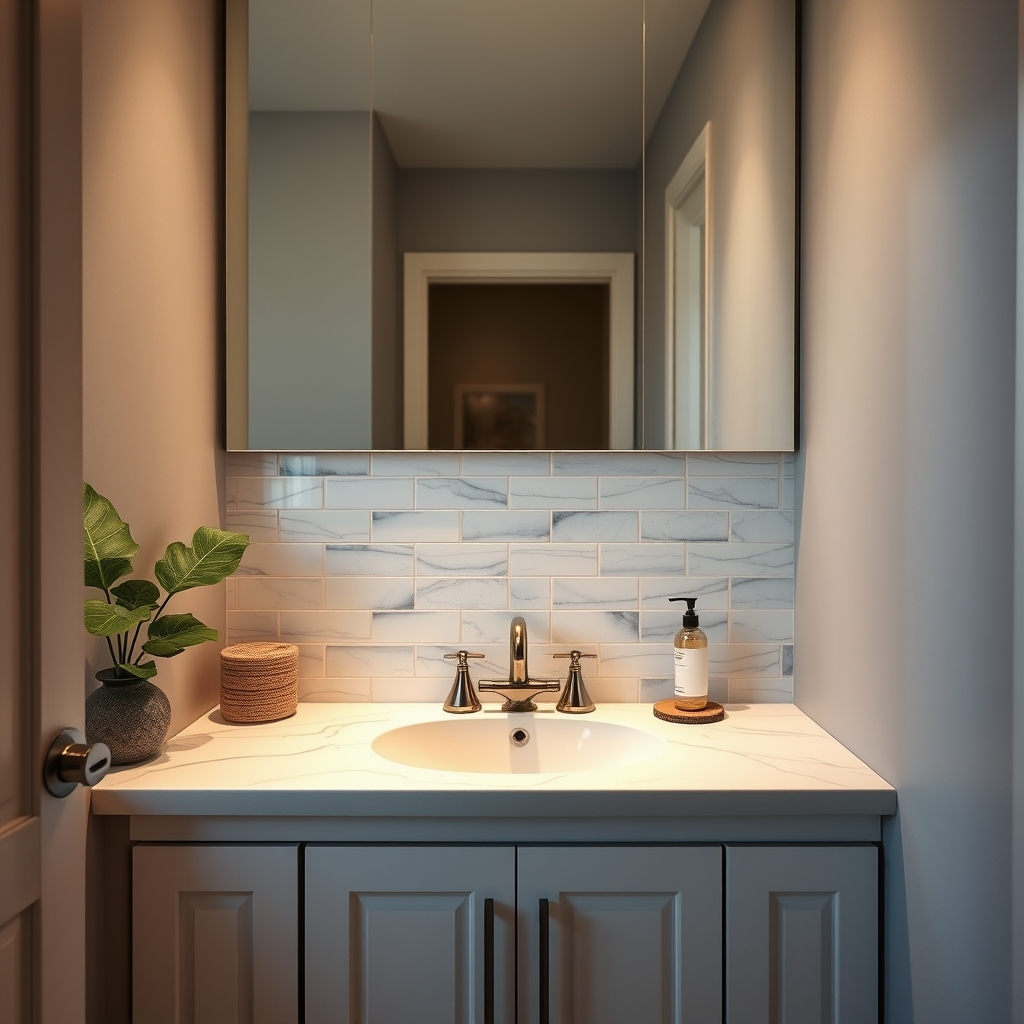
Limit bathroom installations to low splash zones. The wall behind a vanity sink is usually fine. The wall inside a shower enclosure is not. If your bathroom has poor ventilation, consider running a small dehumidifier after showers to reduce ambient moisture levels. A heat pump water heater in a nearby closet can also help by pulling moisture from the air, but that is a larger investment most renters will not make.
For bathrooms, look for products specifically labeled as bathroom safe or moisture resistant. Read the negative reviews carefully. If multiple reviewers report edge curling in bathrooms within weeks, skip that product no matter how good the pattern looks.
The #1 Enemy of Peel and Stick Tiles: Textured Walls
The most common negative review complaint about peel and stick tiles is that they will not stick to textured or uneven walls. The three most frequently cited problems on textured surfaces are clear. First, the adhesive fails to bond to uneven or rough surfaces, causing tiles to peel, bubble, or lift shortly after installation. Second, moisture accelerates this loss of grip leading to premature failure. Third, heat or humidity induces edge curling which then spreads across the tile.
Most rental apartments built after 1990 have some degree of wall texture. Knockdown texture and orange peel texture are the most common. These textures create tiny air pockets behind the tile that prevent full adhesive contact. Over time, gravity and temperature changes do the rest.
Renters face a specific challenge here. You cannot simply sand down textured walls without risking permanent damage to the drywall and losing your security deposit. Re texturing a wall after sanding is a job that requires skill and money. It defeats the purpose of a temporary upgrade.
| Surface Type | Adhesion Success Rate | Recommended Action |
|---|---|---|
| Smooth drywall (painted) | High (90%+) | Clean with alcohol, let dry, install directly |
| Smooth tile or glass | High (85%+) | Degrease thoroughly, install over existing backsplash |
| Light orange peel texture | Moderate (50-70%) | Use a high bond primer first, test a small area |
| Heavy knockdown texture | Low (under 30%) | Skip peel and stick, consider alternative solutions |
| Wallpaper or fresh paint | Very Low | Never install on wallpaper or paint less than 30 days old |
The safest approach for renters is to test first. Buy a single sheet or a sample pack. Clean a small section of wall, apply the tile, and wait 48 hours. If it stays flat and feels secure, proceed. If edges lift or the tile peels off easily, you have your answer before wasting money on a full order.
Renter Friendly Removal: What You Need to Know Before You Tear It Down
Good quality peel and stick tiles can be removed cleanly using a hairdryer or heat gun. Heat softens the adhesive and allows you to pull the tile away slowly without tearing the drywall paper according to flooring and backsplash experts. Traditional tile removal almost always damages the wall behind it, requiring patching, sanding, and repainting.
Not all products claim no damage removal. Check the packaging or product description before buying. Look for phrases like “removable,” “renter friendly,” or “no damage removal.” Products that do not explicitly promise clean removal often leave adhesive residue or tear the paint when pulled off.
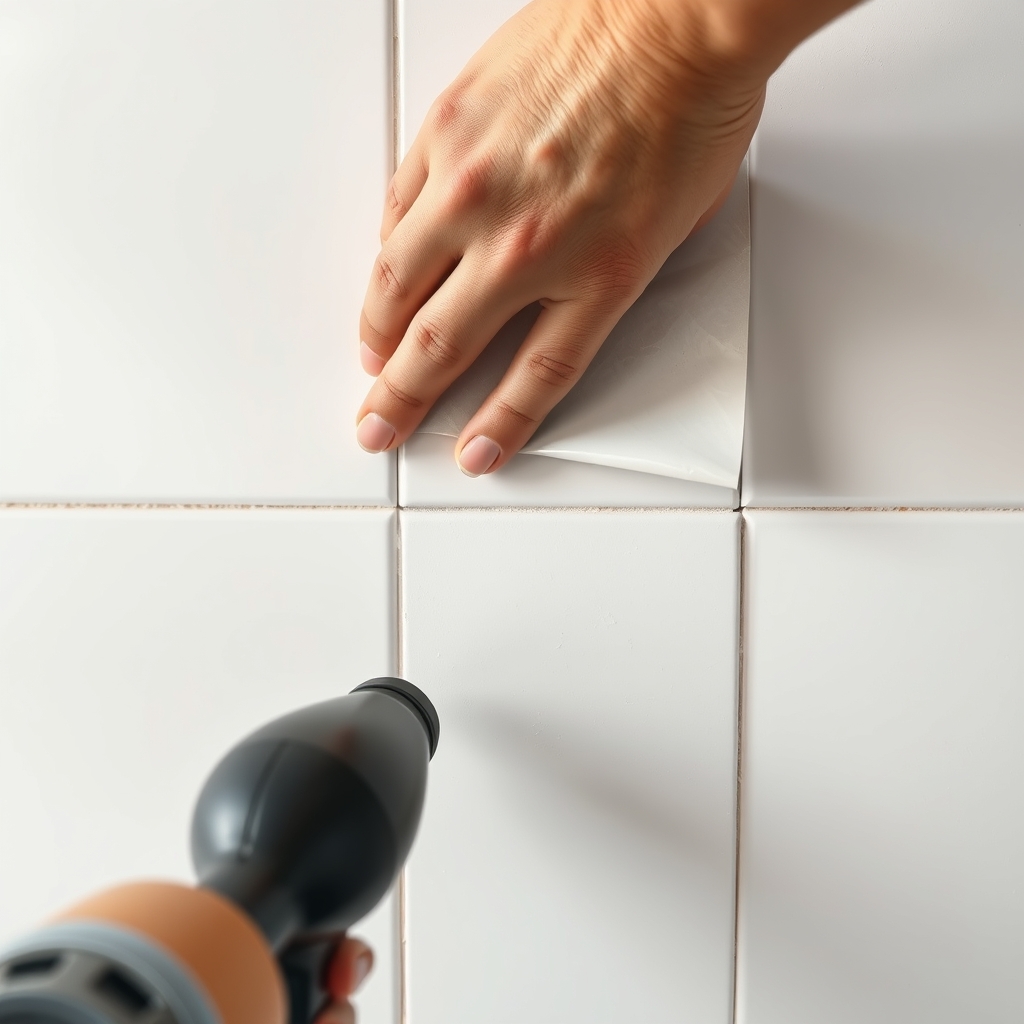
Test a small corner first. Apply heat from a hairdryer set to medium or high for about 30 seconds on a single tile corner. Gently lift with a plastic putty knife. If the tile comes away cleanly without pulling paint, you are in good shape. If paint chips or the drywall paper tears, stop and reconsider your approach.
Never install peel and stick tiles on fresh paint. Paint needs at least 30 days to fully cure. If you apply adhesive tiles to uncured paint, the adhesive bonds more strongly to the paint than the paint bonds to the wall. When you eventually remove the tiles, the paint will come with them in sheets. This is a common and expensive mistake that renters make.
If you previously installed LVP flooring in your rental and had a smooth removal experience, do not assume the same for wall tiles. Wall adhesives behave differently and the substrate matters far more.
How to Pick the Best Peel and Stick Backsplash for Your Rental (Buying Guide)
The global peel and stick tile backsplash market was valued at $3.8 billion in 2025 and is projected to expand to $7.1 billion by 2034 according to market research. This growth means more quality options hit the market every year. It also means more low quality knockoffs. Here is how to separate the good from the bad.
First, check the smooth wall requirement. If your rental has knockdown or orange peel texture, you either need to find a product with an extra thick adhesive layer designed for light texture, or you need to skip peel and stick entirely. Some newer products use a gel adhesive that fills minor texture, but they are still the exception. Read the product description carefully. If it says “smooth surfaces only,” believe it.
Second, check the moisture rating. Products labeled “kitchen safe” can handle occasional splashes from cooking but not constant humidity. Products labeled “bathroom safe” have stronger adhesives and are formulated to resist steam. Do not use a kitchen rated product in a bathroom and expect it to last.
Third, read real user reviews with a skeptical eye. Focus on the negative reviews first. Look for patterns. If 5 out of 25 negative reviews mention edge curling within the first month, that is a real problem. If reviewers post photos of failed installations, study them. Often the failure reveals whether the issue was product quality or installer error as tile comparison guides note.
Peel and stick subway tile remains the most popular and renter friendly pattern. Its simple rectangular shape makes cutting easy and the classic look works in almost any kitchen. Avoid intricate mosaic patterns for your first installation. The more seams you have, the more potential failure points you introduce.
If you want a more dramatic look, fluted wall panels offer an alternative that does not involve individual tiles at all. They install as large panels, which means fewer seams and faster coverage. The tradeoff is a higher per square foot cost and fewer pattern options.
Conclusion
A peel and stick backsplash gives renters a genuinely affordable and reversible way to transform a kitchen or bathroom. The key is choosing the right product for your specific wall surface and room conditions. Smooth painted drywall in a kitchen is the ideal scenario and will deliver the best results with the least frustration. Textured walls, high humidity bathrooms, and fresh paint are the three biggest risk factors that lead to failure.
Before you buy, test your wall with a sample tile. Before you install, clean the surface thoroughly and warm the adhesive for better grip. Before you remove, use heat and patience. These three steps separate the renters who get their full deposit back from the ones who spend a weekend patching drywall. A well chosen and properly installed peel and stick backsplash can completely change how your rental feels without changing your lease agreement or your relationship with your landlord.
Frequently Asked Questions
Can you use peel and stick backsplash in a rental apartment?
Yes, peel and stick backsplash is one of the best temporary upgrades for rental apartments. It installs without damaging walls when applied to smooth, properly cured paint and removed carefully with heat. Always check your lease agreement first, and choose products that explicitly advertise renter friendly or removable properties.
Will peel and stick backsplash damage walls when removed?
Quality products applied to smooth, fully cured paint usually remove cleanly with heat from a hairdryer. Damage occurs most often when tiles are installed on fresh paint (less than 30 days old), wallpaper, or textured walls where the adhesive bonds unevenly. Testing a small corner before full removal helps you assess the risk.
How long does peel and stick backsplash last?
In a kitchen with moderate use, a well installed peel and stick backsplash can last 3 to 5 years or longer. In bathrooms, the lifespan drops to 1 to 2 years for most products due to steam and moisture exposure. Edge sealing with silicone caulk extends durability in both environments.
Can you put peel and stick backsplash over existing tile?
Yes, existing tile provides an excellent smooth surface for peel and stick installation. Clean the old tile thoroughly with a degreaser, let it dry completely, and apply the new tiles directly over it. This approach avoids the textured wall problem entirely and preserves the original backsplash underneath for when you move out.
What is the best peel and stick backsplash for bathrooms?
For bathrooms, choose products specifically labeled as bathroom safe or moisture resistant. Look for tiles with a thicker adhesive layer and a waterproof top coating. Limit installation to low splash zones like behind the vanity sink, seal all edges with silicone caulk, and avoid installing inside shower enclosures or areas with direct water contact.