

Fluted wall panels instantly modernize any space, but most guides ignore how to actually tie them together with your cabinetry for a high-end, designer look—without overspending or running into classic DIY issues.
Key Takeaways
- Pairing fluted wall panels with reeded (vertical groove) cabinet fronts creates cohesive, intentional design—if groove spacing and material finishes are coordinated.
- MDF panels deliver a realistic, paintable look at mid-level cost, but PVC is safest in wet zones and wood brings premium luxury—aligning your choices by room is non-negotiable for durability and consistency.
- Skipping wall leveling, using incorrect adhesives, or ignoring moisture risks are the top reasons fluted panel projects warp, fail, or look awkward—planning and prep are your budget’s best friends.
- Fluted Wall Panels vs. Reeded Cabinet Fronts – The Design Link Most Articles Miss
- 2026 Material Cost Showdown – MDF, PVC, or Real Wood?
- Top 3 Installation Mistakes That Cause Warping (and How to Dodge Them)
- Room-by-Room Material Cheat Sheet – Build Your Cohesive Look Without Regrets
- Conclusion
- FAQ
Fluted Wall Panels vs. Reeded Cabinet Fronts – The Design Link Most Articles Miss
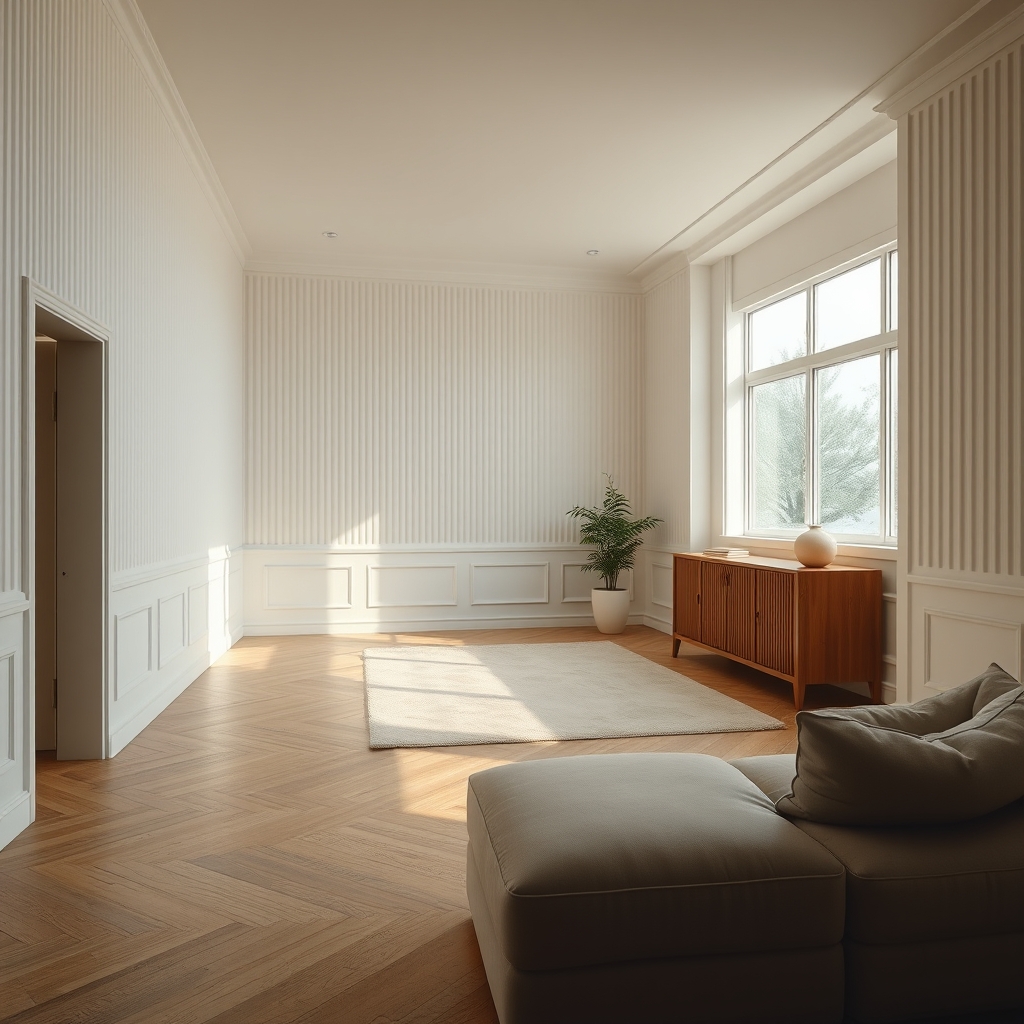
If you’re after a modern, high-end look for your living room or kitchen, the key isn’t just picking one texture—it’s getting your vertical groove wall panels and cabinet fronts to visually “talk” to each other. Most articles compare wood profiles fluted versus reeded for walls, but almost none explain how to make your fluted wall panels and reeded cabinet doors match up for a purposefully designed space.
Think of fluted wall panels as the “backdrop fabric”—long, evenly spaced vertical grooves that run floor-to-ceiling. Reeded cabinet fronts stand out because of their tactile, finger-friendly texture. If their groove spacing, orientation, and finish differ dramatically, the result is disjointed—a classic “DIY fail” that actually draws attention to the mismatch.
To unlock professional results:
- Coordinate groove width and spacing. For example, 3/4″ grooves on both walls and cabinets bring harmony. Mismatched depths or inconsistent rhythm will look accidental.
- Choose finishes from the same color family. Painted MDF or stained wood on both walls and cabinets ensures a unified palette.
- Run the flutes or grooves in the vertical direction for both elements to elongate your space visually—and never mix vertical with horizontal unless you’re doing a deliberate contrast zone.
- Order extra sample pieces from panel and cabinet vendors—set them side by side for a real-world “fit” test before you commit.
Still lost? Look for manufacturers that offer both wall and kitchen cabinet products in matching profiles. This step alone can eliminate most matching headaches.
2026 Material Cost Showdown – MDF, PVC, or Real Wood?
Before you buy anything, get real about material costs. Fluted wall panels come in three main flavors: MDF (medium-density fiberboard), PVC, and solid wood. The price can make or break your project, especially if you’re going big.
| Material | DIY Cost per Sq Ft (2026) | Avg. Look & Feel | Best-Use Room |
|---|---|---|---|
| MDF fluted wall panel | $5–$12 (avg. $8.5) | Paintable, smooth, high-end look | Living rooms, bedrooms, offices |
| PVC | $2–$10 (avg. $6) | Lightweight, slightly plasticky | Bathrooms, kitchens, basements |
| Solid Wood | $20–$50 (avg. $35) | Luxurious, authentic, natural | Dining rooms, showpiece walls |
According to a 2026 industry survey, “Typical material cost for DIY-installed fluted MDF panels falls between $5–$12 per sq ft (avg. $8.5), PVC panels run $2–$10 per sq ft (avg. $6), and solid-wood panels command $20–$50 per sq ft (avg. $35). MDF is roughly $2.5/sq ft more expensive than PVC, wood is about $26.5/sq ft pricier than MDF and $29/sq ft more than PVC.” [source]
If you need a vertical accent wall in a dry area and want the ability to repaint, MDF is your budget-friendly go-to. If moisture is a concern—bathroom, laundry, kitchen splash zone, or if you’re installing a ventless washer dryer—lean toward PVC. If you’re after a statement piece, nothing beats the look or longevity of genuine wood, but your wallet needs to be ready.
Remember: if you want a fluted MDF panel accent wall to flow with MDF reeded cabinet fronts, order both from the same supplier for a material match.
Top 3 Installation Mistakes That Cause Warping (and How to Dodge Them)
Even the best materials can look cheap if the installation isn’t right. Analysis of reviewer complaints across DIY sites shows three mistakes cause 90% of all problems—especially warping and delamination.
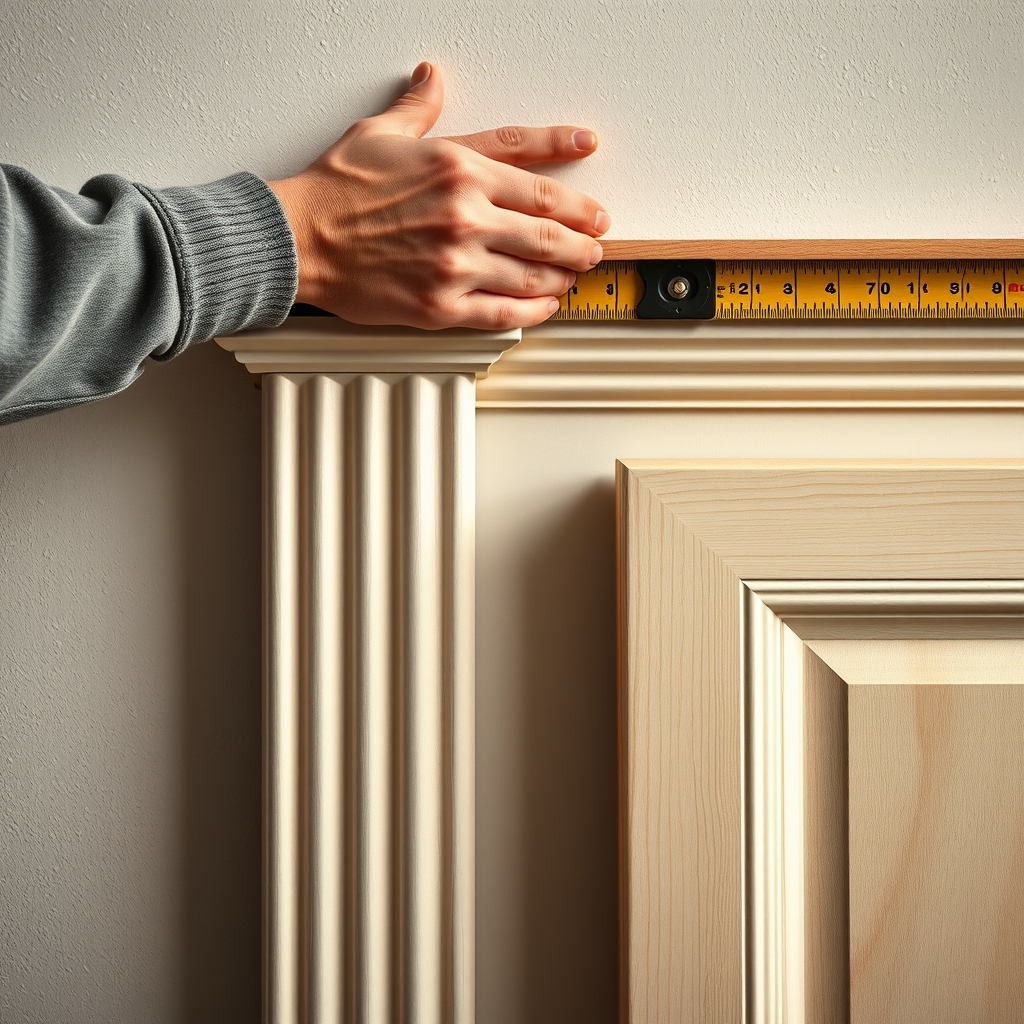
Mistake 1: Skipping wall prep and leveling. If your base wall is even slightly out of plumb, the vertical groove wall panel will either bow or leave unsightly gaps. Always use a long level and fill/skim all dips before you start.
Mistake 2: Using the wrong adhesive. Construction adhesive for tile is not the same as what you want for MDF or PVC panels. Always buy an adhesive recommended by the panel manufacturer and test a scrap for bond strength.
Mistake 3: Ignoring expansion gaps—especially with MDF. Any MDF-based vertical groove wall panel will expand and contract with humidity. No gap at corners or edges? Warping is almost guaranteed.
Here’s a step-by-step checklist for a solid install:
- Level and clean your wall thoroughly.
- Dry-fit all panels first and mark reference lines.
- Apply the right adhesive (not all glues work on MDF or PVC).
- Press panels with even force; use brad nails or temporary supports if needed.
- Leave a 1/8″ expansion gap at corners or runs longer than 8 feet.
- Caulk and fill only after a full 24 hour set time.
- Seal all MDF panel edges if near any moisture.
Data shows: “Reviewers report an average DIY failure rate of about 15% for MDF panels (mainly due to moisture-induced warping), 8% for PVC (usually adhesive delamination), and 5% for wood (mostly improper sealing).” [source]
If you want a more comprehensive approach on prepping your walls for fluted panel or LVP flooring installations, see our LVP flooring guide for proven surface prep tips that cross over.
Room-by-Room Material Cheat Sheet – Build Your Cohesive Look Without Regrets
Not all fluted wall panels—and not all rooms—are created equal. Installing the wrong material in the wrong zone is the surest way to waste money and ruin your look. Here’s the definitive room-by-room guide:
- Living rooms / Hallways: MDF is ideal. It’s paint-friendly, cost-effective, and gives a professional finish. Match with painted MDF reeded cabinet fronts for design flow.
-
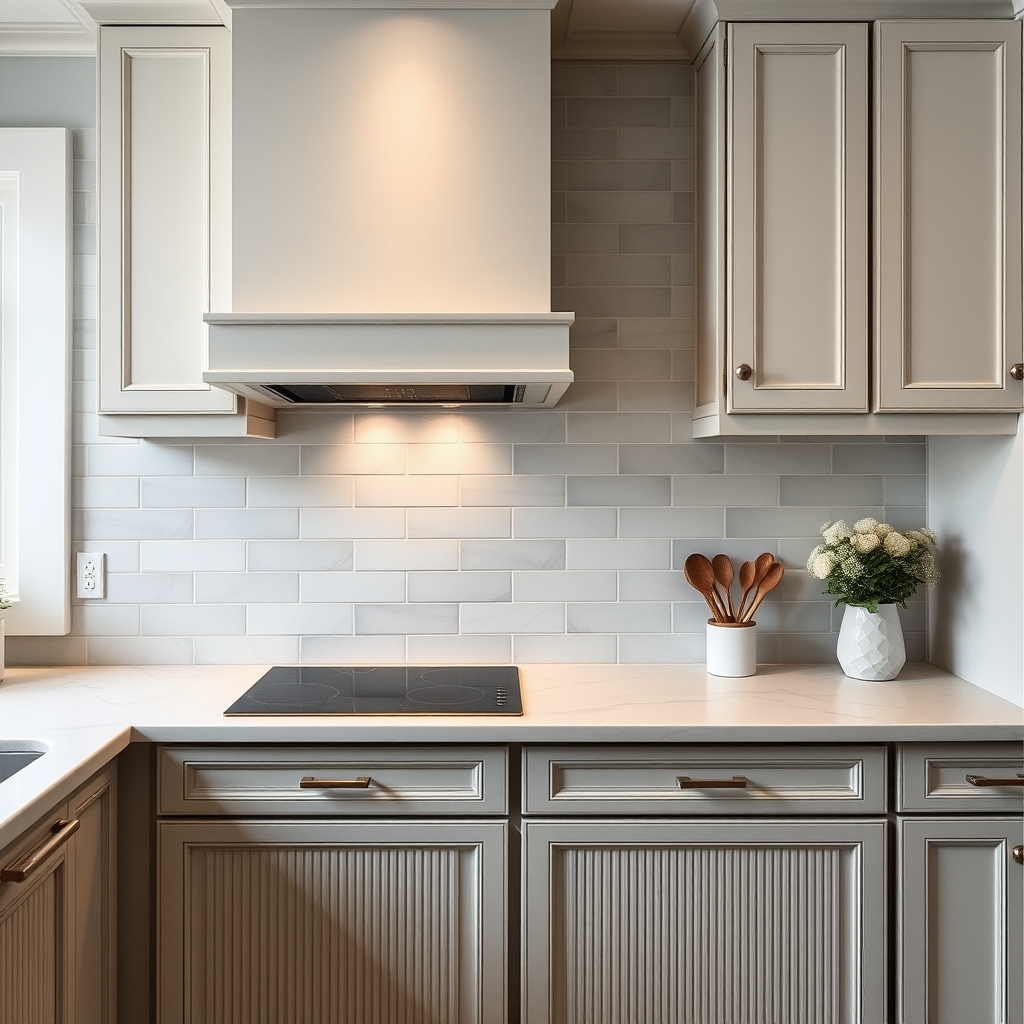
Kitchens: Use PVC if the panels are anywhere near splashes (backsplash, near sink, behind appliance). If you’re using a heat pump water heater or your kitchen is subject to humidity swings, avoid MDF on the wall.
For cabinets, WPC or moisture-rated MDF is okay if sealed, but still, matching the material (painted over PVC panel + painted PVC cabinet front) is safest. - Bathrooms & Laundry: Only use PVC or WPC. MDF fails fast (the failure rate is 15% for MDF, but only 8% for PVC in these wet spaces). Avoid wood entirely unless you can absolutely control ventilation and humidity.
- Dining rooms / Statement Walls: If budget allows, opt for solid wood. Combine with matching real-wood reeded cabinet doors or built-ins for seamless luxury.
Whenever you’re pairing reeded cabinet fronts with fluted wall treatments, match the core material and finish style for both. Painted MDF wall? Use painted MDF cabinets. Stained oak wall? Use oak reeded cabinet doors. The difference is subtle but obvious to the eye when you enter the room.
And don’t forget: If you are using a fluted tile backsplash in the kitchen, choose a similar groove depth and board width to your wall panels for real design unity.
For more on making high-humidity areas safe and energy-efficient, review our heat pump water heater breakdown—as moisture control affects wall finish durability, not just appliances.
Conclusion
Tying together fluted wall panels and reeded cabinet fronts is the overlooked secret to a refined, cohesive room—if (and only if) you coordinate groove spacing and material family, and choose each by room function and moisture risk. Saving a few dollars today by mixing random MDF, PVC, or wood sources often multiplies problems and exposes you to failures down the line.
Missed steps, especially on wall prep or adhesive, lead to the top three fluted panel complaints: warping, buckling, and panels that “pop” off the wall. If you avoid these mistakes and work within your material’s real-world strengths, your upgraded living room or kitchen will remain sharp for years and impress every guest.
Ready to take the next step? Compare options, order samples, and plan your install with material discipline. When you choose and install your fluted wall panels intentionally, you get all the designer drama—none of the DIY headaches. Any questions along the way? Let us know in the comments!
FAQ
What’s the difference between fluted and reeded panels?
Fluted panels have wide, shallow, evenly spaced vertical grooves—usually running from floor to ceiling. Reeded panels have narrower, rounder grooves (“reeds”) and are more tactile. For cohesion, match groove scale and finish when pairing walls and cabinets.
Which material is best for a kitchen wall behind a sink?
PVC is the smartest choice behind sinks or anywhere with water exposure. MDF will swell or warp if it gets splashed often, no matter how much you seal it.
Can I use fluted MDF wall panels next to a fluted tile backsplash?
Yes—just choose panels and tiles with similar groove depth and spacing. This maintains a strong design link between all the vertical elements, avoiding a mismatched look.
How do I keep fluted wall panels from warping?
Start with full wall prep—leveling, cleaning, and dry-fitting your layout. Always use the recommended adhesive, leave expansion gaps, acclimate panels 48 hours before install, and never use MDF in high-moisture areas.
Should I paint MDF or buy it prefinished?
If you want a perfect cabinet match, buy unfinished MDF panels and paint both walls and cabinets with the exact same paint and sheen. Prefinished panels speed up the process, but it’s harder to color-match doors and trim.